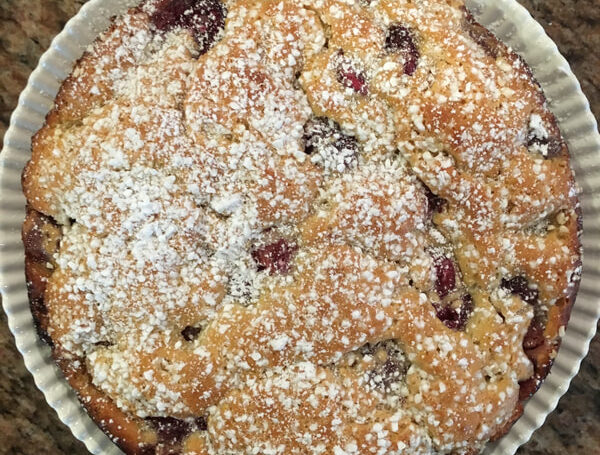
Cherry and Yogurt Cake
Summer is around the corner and you will surely be headed to summer gatherings. These beloved gatherings in warm months may include back yard barbecues, graduation parties, and perhaps a Father’s Day celebration. Any time I am invited somewhere, my first question for the host is always: “What can I bring?” That’s the Italian in me that refuses to show up anywhere without something for the host. Since savory foods are typically provided, and bringing wine seems like a cop-out coming from a cookbook author, I almost always default to bringing baked goods. I have become known for my baked goods, so inevitably, a baked treat is always appreciated, if not expected. So today, I present you with a summer favorite: Italian Cherry and Yogurt Cake.
I love this cake for summer gatherings because it just screams, well, summer! It’s easy to prepare, not overly sweet, and delicious next to an espresso, or a bit of limoncello. The flavors are mild, not overly pronounced like the espresso bundt cake I shared with you a few weeks ago, and it’s loved by adults and kids alike. Add a scoop or two of vanilla gelato next to it, and you might just have the perfect summer dessert.
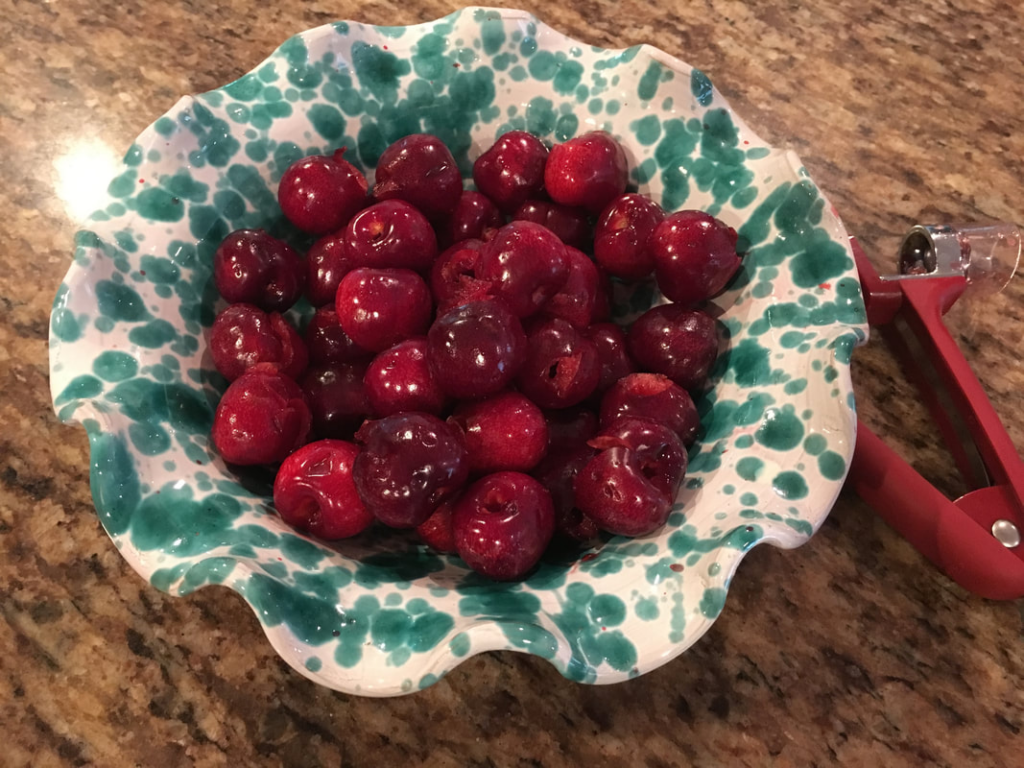
In the summer months, during peak cherry season, I usually buy a few extra pounds of cherries, (when on sale, as they can be very expensive in my neck of the woods) I remove the pit using a cherry pitter, bag them, and freeze them for later use. It’s fun pulling them out in the middle of the dark cold winter, when you least expect cherries!
Add a Little Crunch
I top this cake, and many others, with Lars Swedish Pearl Sugar. This is optional, of course, but I love it on top for an added crunch. You can purchase the sugar on Amazon, and I highly recommend it for that extra touch on cakes and cookies. It’s also great on muffins. Since everyone seems to prefer the muffin top to the bottom, give them another reason to love that crunchy top!
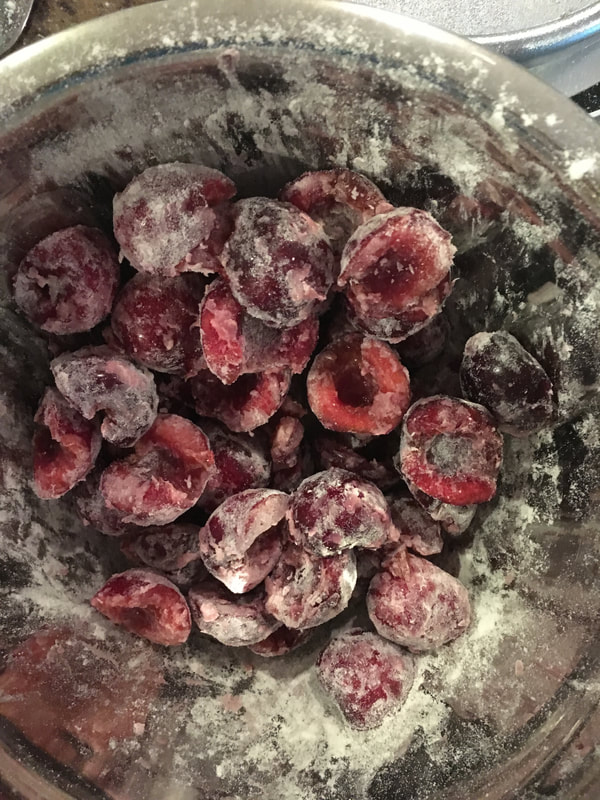
Cut the cherries in half and dust them with one tablespoon or so of flour to prevent them from sinking to the bottom of the cake. Photo credit: Lazy Italian Culinary Adventures.
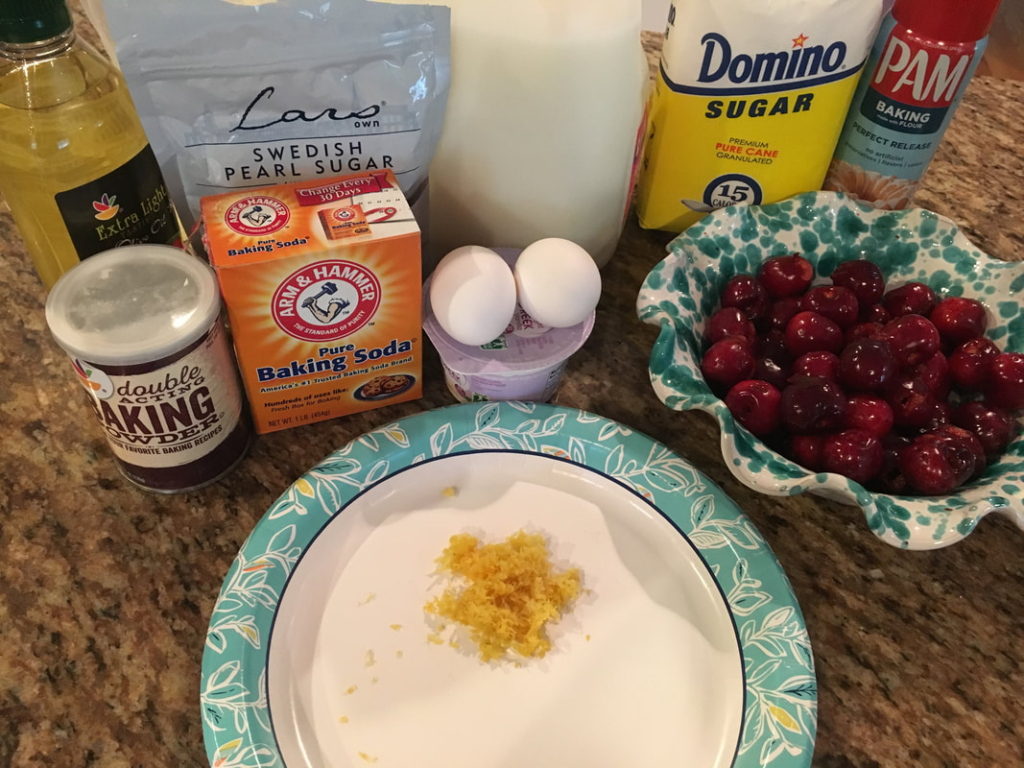
Getting everything measured out before starting helps with the baking process. Photo credit: Lazy Italian Culinary Adventures.
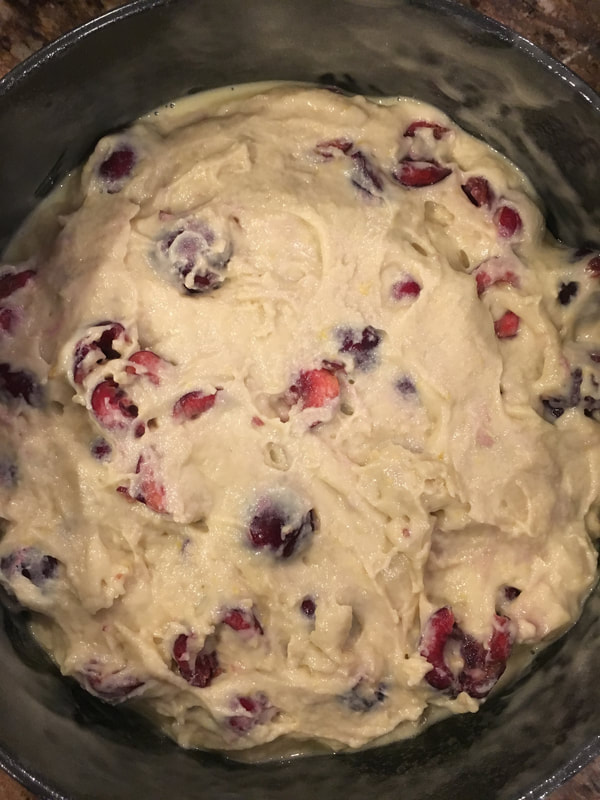
Spread the batter on an 9 inch springform pan. This batter is actually great for muffins too! Photo credit: Lazy Italian Culinary Adventures.
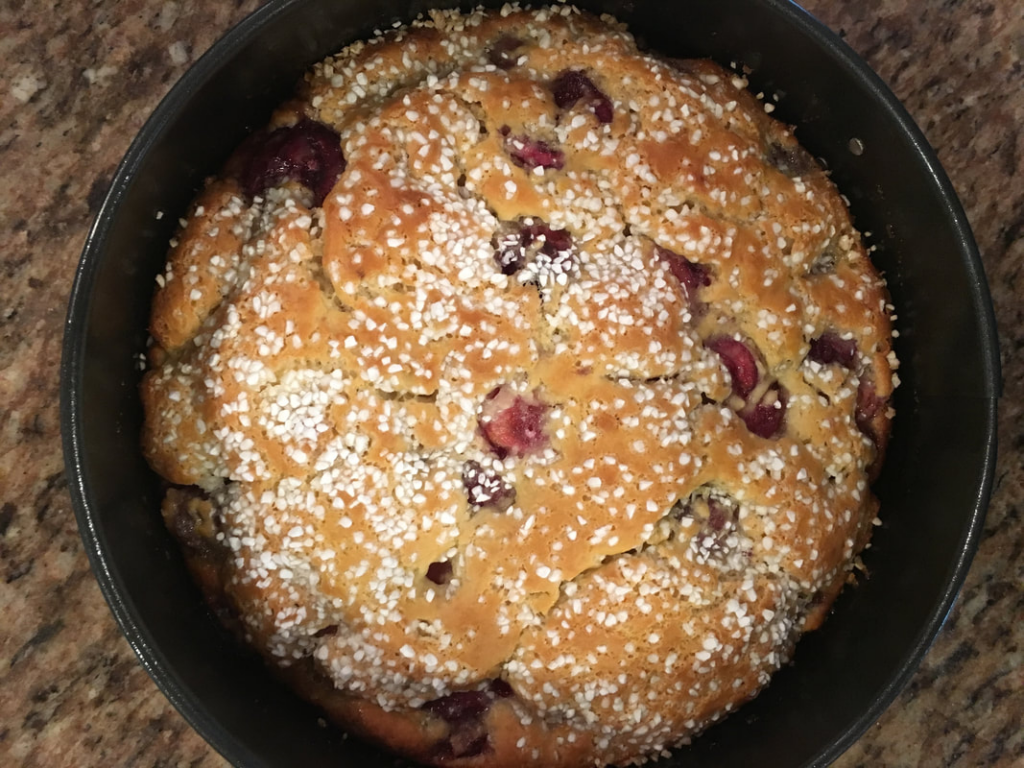
Fresh out of the oven! Resist the temptation and let it cool fully before removing it from the pan. Photo credit: Lazy Italian Culinary Adventures.
Cherry and Yogurt Cake
Ingredients
2 cups fresh cherries, pitted and halved
1 1/3 cups all purpose flour + 1 additional tablespoon
2 teaspoons baking powder
1/4 teaspoon baking soda
2 large eggs
3/4 cups granulated sugar
Zest of 1 organic lemon or 1/2 organic orange
1/4 cup light tasting olive oil (vegetable oil can be substituted)
1/2 cup vanilla greek yogurt
1/4 cup milk (skim or whole)
2 tablespoons sugar crystals or regular sugar (optional)
Instructions
- Preheat oven to 350 degrees. Butter and flour a 9-inch springform pan, or spray it with nonstick cooking spray. Set aside.
- Pit the cherries, cut them in half and dust them with 1 tablespoon of flour and set them aside.
- With a hand-held whisk or a fork, mix the flour, baking powder and baking soda in a small bowl and set dry ingredients aside.
- With a handheld mixer, or stand mixer, beat the eggs, sugar and zest for 2 – 3 minutes until light and fluffy.
- Slowly add the oil and mix well. Add the yogurt and milk and mix on low until combined.
- Add the flour and mix just until incorporated, do not over-mix.
- Using a rubber spatula, add the cherries and mix them into the cake batter. Spread the batter into the springform pan, and top the cake with the sugar crystals or the regular sugar.
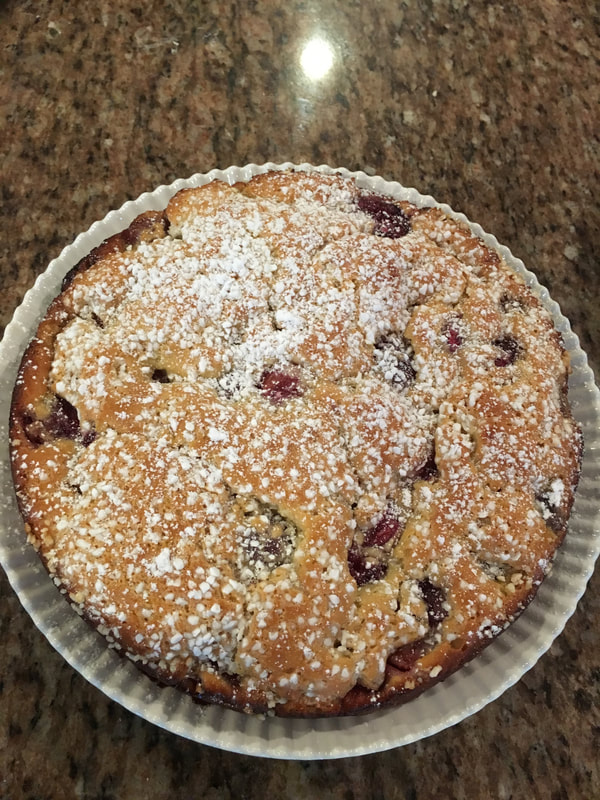
- Bake for 43 – 45 minutes or until the edges are golden. Cool completely before removing from the pan. Plate and serve.
Leave a Reply

What to Pack for Italy
Cosa Mettere in Valigia per l'Italia
Everyone is always asking me what they should pack for Italy,
so I’ve created a quick reference guide that you can use for your next trip.
Hint: You don’t need nearly as much as you think you do!
2 Comments
Come mai non ho visto questa ricetta prima di oggi?! Grazie mille, Francesca. Come te, adoro le ciliegie.
Spero che la fai presto Mary!