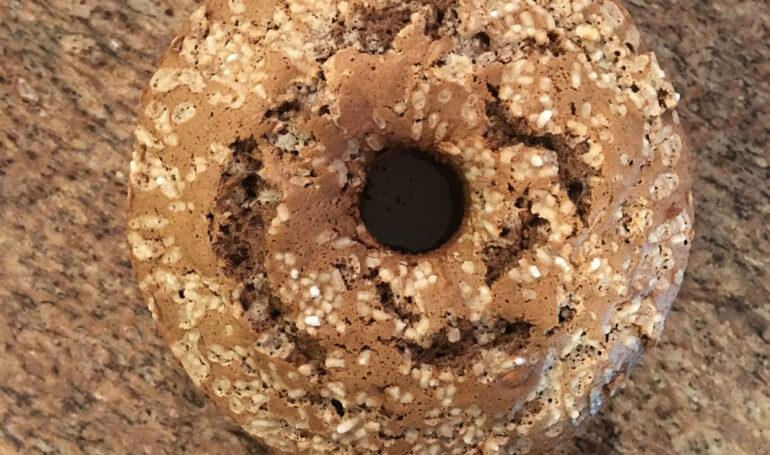
Espresso Dark Chocolate Sponge Cake
I must admit, I have been known to skip a meal and go straight to dessert. While I’m not proud of this, I’m not ashamed of it either! There are days where nothing beats a great cup of freshly brewed espresso with a homemade baked treat straight from my oven. And here’s where this espresso dark chocolate sponge cake comes in.
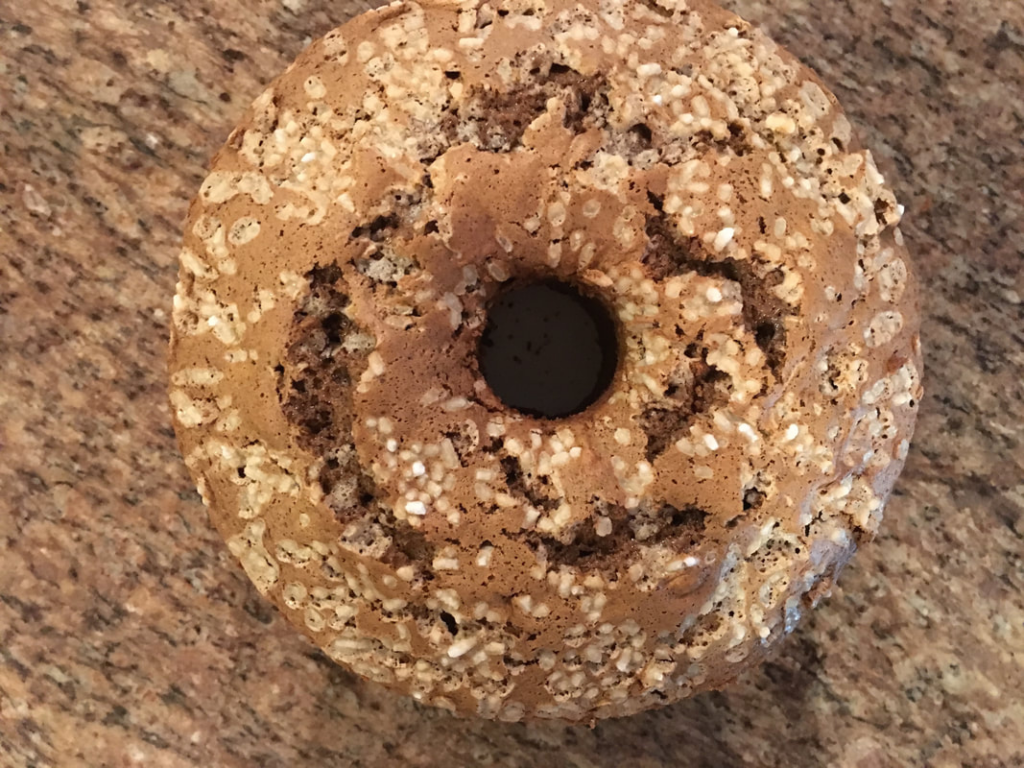
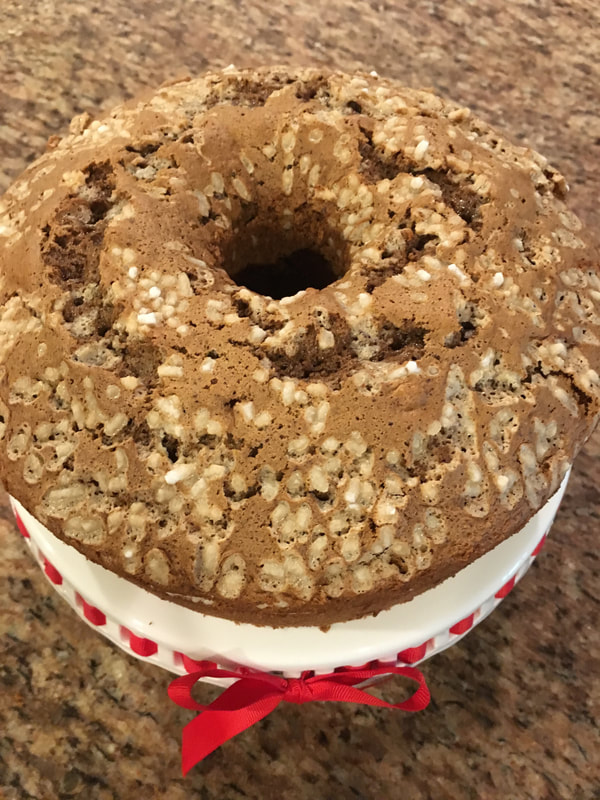
This cake is one of my favorites. It’s essentially a chiffon cake that I put an Italian twist to it. A chiffon cake is a soft dessert with a light consistency like a cloud. This is a classic cake, very tall and majestic, made with eggs and egg whites whipped until stiff, making the dough incredibly soft, without the need for butter. Can we tell ourselves that it’s almost healthy than?
This cake must be baked in the typical Chiffon cake pan, also used for angel food cakes. The pan is round with a whole in the middle. Ideally your pan will have high edges known as “feet.” This allows the cake to be cooled upside down, so that the spongy softness is not compromised! You can see the exact one I use here. (Not an affiliate link, just sharing what I use and love!)
The end result is super light, spongy and very delicate. It goes well with a scoop of vanilla gelato, and a shot or two of espresso. Or even a hot homemade latte. And that to me, can be a meal in itself.
Below are the step by step instructions with pictures. Don’t let the number of steps intimidate you. Make this a few times, and you will have a great handle on how to make this delicious espresso dark chocolate sponge cake in no time.
Espresso Dark Chocolate Sponge Cake
Ingredients
2 cups all-purpose flour
1 tablespoon baking powder
1/2 teaspoon salt
1 1/2 cups granulated sugar, divided
1/2 cup vegetable oil
6 large eggs, separated
1 oz dark chocolate, shaved using a grater or microplane
2 tablespoons instant espresso powder
3/4 cup freshly brewed espresso, cooled off
1 teaspoon pure vanilla extract
Instructions
- Preheat oven to 325 degrees.
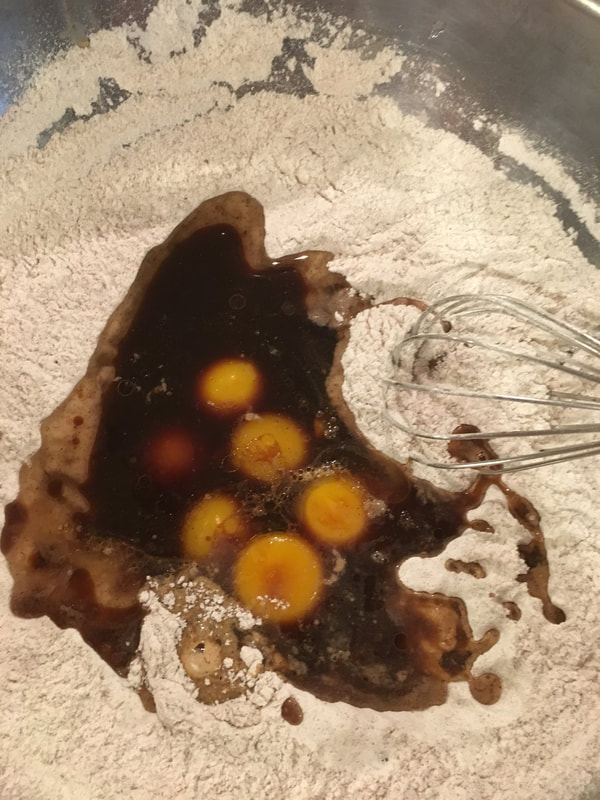
- In a large bowl, whisk together the flour, baking powder, salt, and 1 cup of the sugar.
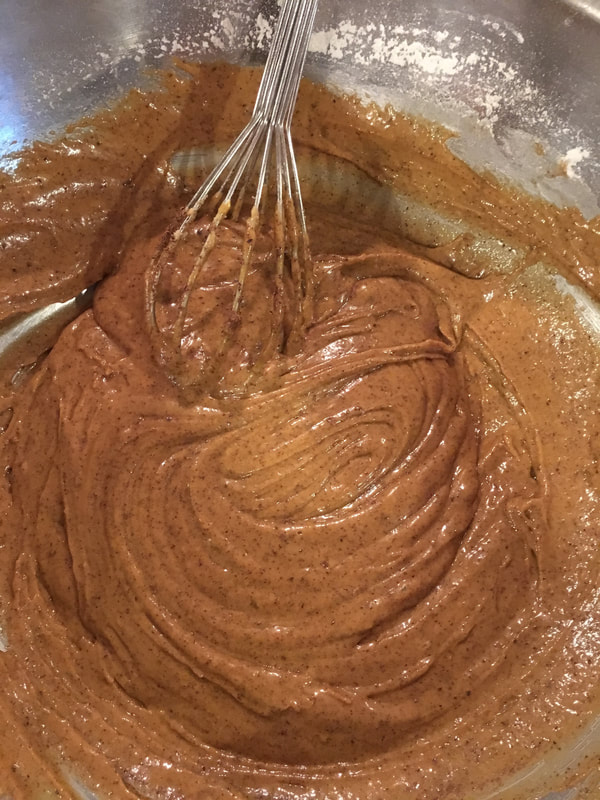
- Make a well in center of the flour mixture and add the oil, egg yolks, dark chocolate, espresso powder, brewed espresso and vanilla extract. Whisk batter with a hand whisk until smooth.
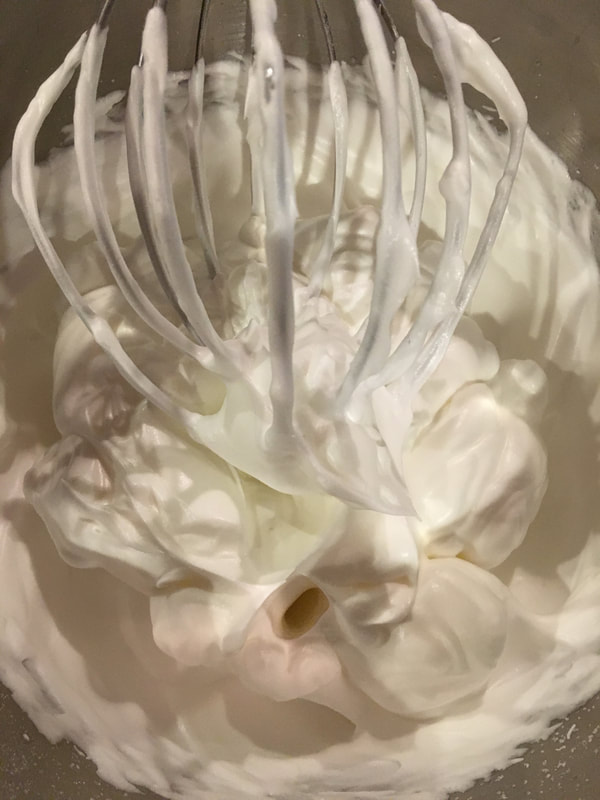
- With an electric mixer on high speed, whisk egg whites until soft peaks form.
- With the mixer still on, gradually add the remaining 1/2 cup sugar to egg whites and continue mixing until stiff peaks now form.
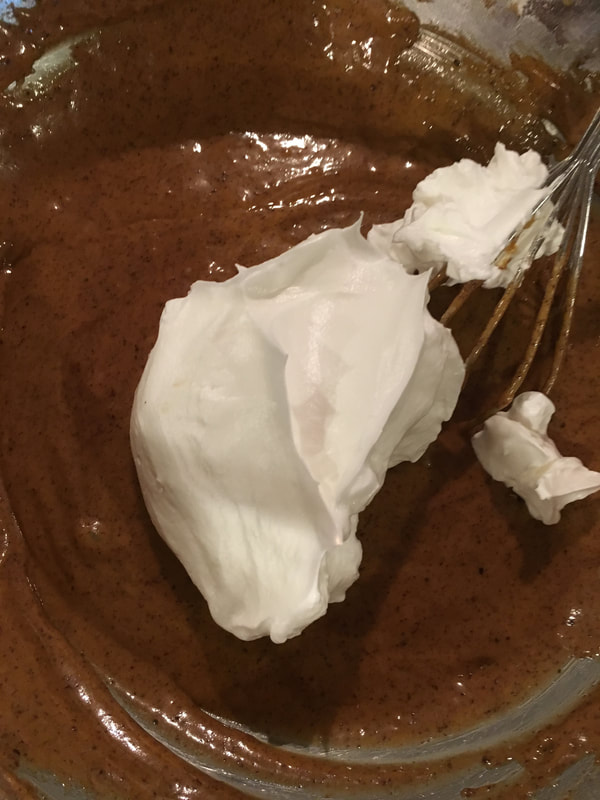
- Scoop about 1 – 2 cups of the egg whites and add them to the batter. With a hand whisk, incorporate them well into the mixture to loosen it up a bit.
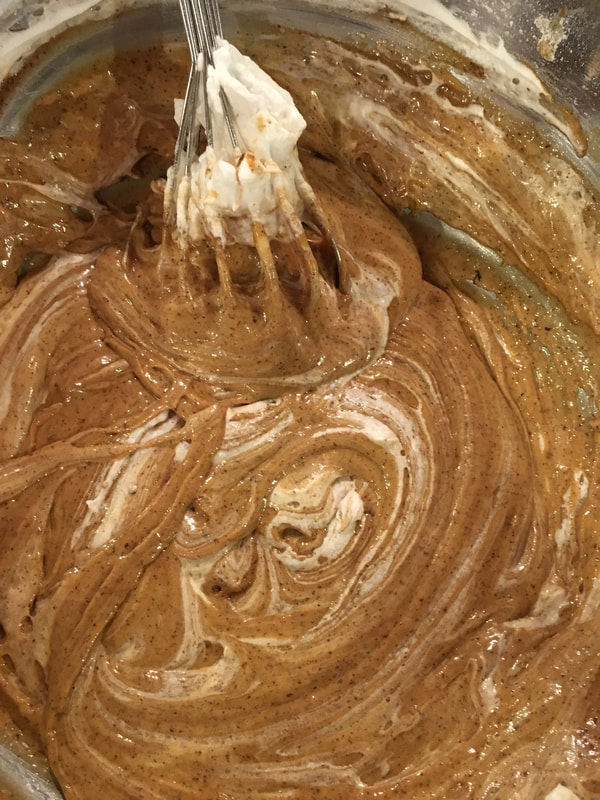
- Transitioning to a rubber spatula, gently fold the remaining egg whites into batter in several additions. Continue mixing until no white streaks remain.
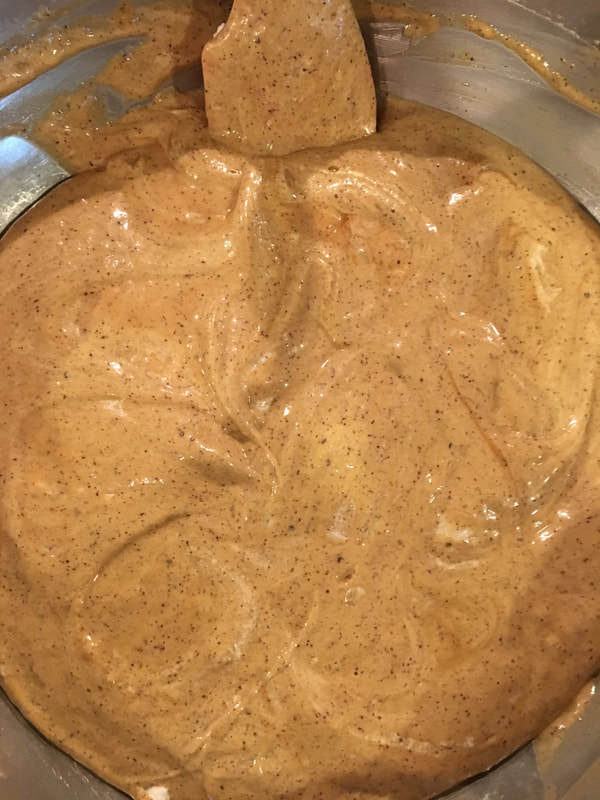
- Pour batter in an un-greased 10-inch footed angel food cake pan with a removable bottom. Bake the cake until a cake tester or toothpick inserted near center of the cake comes out clean. This will take about 55 – 60 minutes.
Removing from the Pan
- Remove the cake from the oven. Invert and cool completely, at least a few hours.
- Run a sharp knife around the edges of the pan to release the cake. Plate and serve.


Leave a Reply

What to Pack for Italy
Cosa Mettere in Valigia per l'Italia
Everyone is always asking me what they should pack for Italy,
so I’ve created a quick reference guide that you can use for your next trip.
Hint: You don’t need nearly as much as you think you do!
2 Comments
Can’t wait to bake this cake. Looks amazing.
It’s so good!